NEW Echo Park is Here (and more stuff)!

I love most of what Echo Park produces, but the Victoria Gardens line is by far my favorite to date! It has the perfect mix of vintage flowers and smaller patterned papers that just make scrapbooking, cardmaking or any project SO amazing. You can find it all HERE.

Prepare to drool here!

We also have some really pretty new vintage trims, flowers & buttons in stock this week. Look for them in the A Million Memories section of the store.

PLUS ---- Yes there is more!!! Pretty much EVERYTHING in the store is 50% off! Just use code SALE3 at check-out! The only things not included are some AMM items (which are already discounted) and the new Echo Park Victoria Gardens line.

Here is a super cute kit called "School Day Love" that is 50% off! Check out all of those goodies!!! It's a $34.95 value and you can have it for $14.99!!!
Have a great weekend my crafty friends!!!

Fun Tip Friday with Ro Philippsen

Today I'm going to show you a fun way do a quick and easy paper quilting project. All you need is 2 different styles of patterned paper. I used a floral and a yellow.


First cut 3 squares of each paper. Then cut one square diagonally from each color forming triangles like the picture below.


Distress each piece with a brown stamp pad.


Put your pieces together to create a fun quilt paterrn.


Use this technique for cards, tags or scrapbooking pages.

What's Up Wednesday with Nayda Rocha

Hello, this week we are going to be focusing on Paper Quilting. I will explain step by step how to do a scrapbook layout using this technique.


Step 1: Cut several squares of paper scraps, then cut them into triangles as shown. Edge some of the triangles with ink and apply 3D adhesive to others.


Step 2: Adhere the triangles to your LO as shown then add photos.


Step 3: Add your title and embelishments to decorate, then draw few lines with a pen to highlight a few areas of your LO.


Step 4: To add a fun element to your LO using string use glue to doodle a loop-da-loop to two corners of your LO and then add string to the glue.


Okay, here's what your finished layout will look like.


Member Monday with Marie Ramirez

This weeks Layout of the week was chosen by Marie Ramirez. She chose this LO by Marcia Elisa Marques Ferraz.


Here's what Marie had to say about the LO: "I love how big the pictures is. It makes it the focal point instead of all the paper and embellishments. I also do love the circles and tags and boarders. They make the picture pop that much more. Great job!"

Fun Tip Friday with Jennifer Longenecker

Today I'm going to show you some of my favorite ways to add texture to your page elements with a little paint or ink. First grab your supplies. You will need some of your favorite paint colors, a can, some inks, a clean dish, a dish full of water, and a few flat tipped paint brushes.
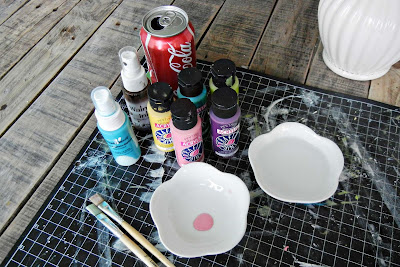

Paint Technique 1: Cup Stain.

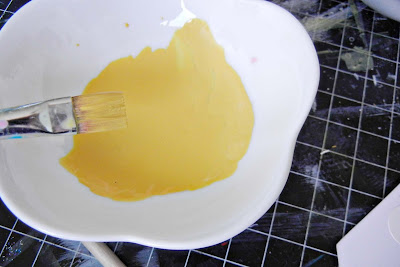
To achieve this look with out the cost of a stamp simple add a little dab of paint to your clean dish and then add some water to your paint with your paint brush.
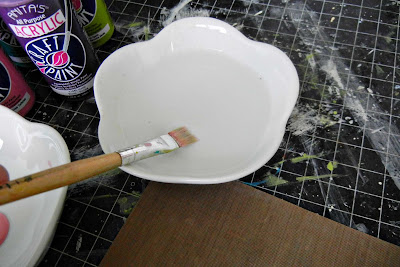
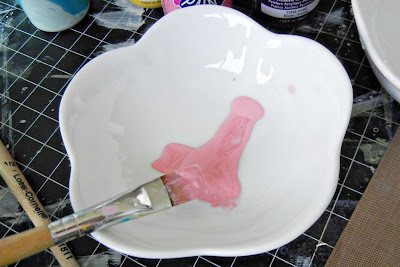


Next paint the bottom rim of your can and stamp in place. Don't worry about the paint being a little runny ... it's a good thing if it is because your image will look more natural. You can re-stamp several times to get varying degrees of color.
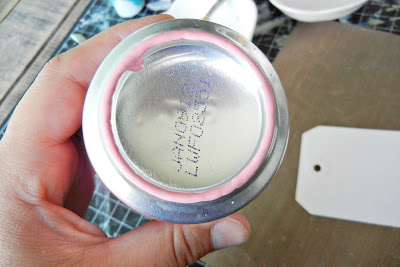


Paint Technique 2: Edging with Paint


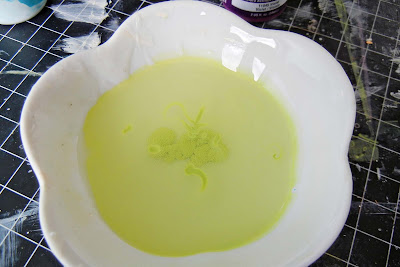
In stead of adding water to paint this time you are going to add paint to your water. Starting with a clean dish of water add a drop of of paint to the water and then stir with the tip of your paint brush.


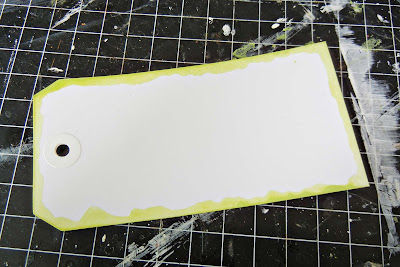
Next using just the tip of your flat brush add the paint to the edges of your element. Allow the paint to dry and then add more paint for a more vibrant edge.
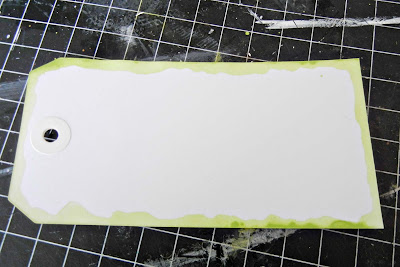


Paint Technique Step 3: Paint Mat


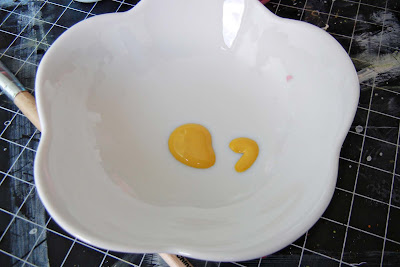
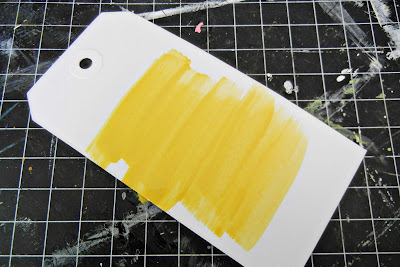
For this step you are going to add water to your drop of paint just like you did in the first technique. Then just brush across your work area to create a mat for a photo or other page element. The watered down paint dries with really cool variances in the texture.


Paint Technique 4: Making your own mist/ splatters


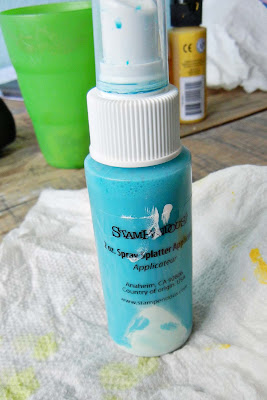
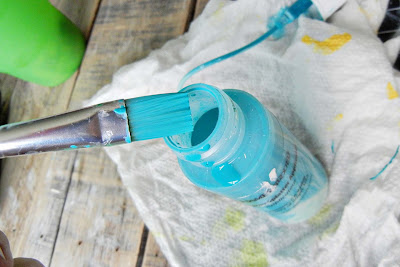
If you use a particular paint a lot it might be a good idea to turn that paint into a mist. To do this you will need a small spray bottle, some water and some paint. Add paint to the bottom of your bottle and then add water and shake to mix. Keep adding paint until you achieve thee color you are looking for. To create splatters dip your paint brush into the bottle, hold the paint brush over the area you want to splatter and then hit the top of the paint brush with your other hand.


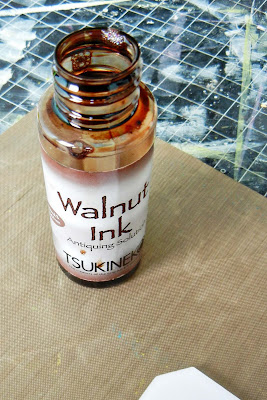
You can do each of these techniques using any kind of paint or ink. One of my favorite inks to use is walnut ink.
50% OFF SALE still on now!

If you are interested in getting a great deal on some great stuff, then get to shopping today on our 50% off sale! Just use code SALE3 at checkout. This applies to all items in the store, with the exception of a few of the AMM vintage trims & findings. Oh and WE DO SHIP INTERNATIONALLY!!!

Have fun shopping!

What's Up Wednesday with Ro Philippsen

I do not know about you, but I'm totally in love with paint splashes on layouts. Today I am going to show you some different ways we can create these splashes.


1 – With glimmer mist: Uncap your mists and shake onto paper. This will add droplets of mist.


2 - With spray cans: spray paint into a lid and drip the paint onto paper


3 – With brush: Dip the brush into the paint and tap it to spread the spill.


4 - With toothbrush: Slide your finger over the bristles, and you will see the ink spread on paper.

Member Monday with Nayda Rocha

Today's Layout of the week was chosen by Nayda Rocha. She chose this LO by Jennifer Findlay.


"Because of You" by Jennifer Findlay


Here's what Nayda had to say: I loved the layout of Jennifer, it is simple and very sweet! Jennifer has Been doing many wonderful works, check out her gallery! Congratulations!

Fun Tip Friday with Marie Ramirez

Today I am going to show you how to make fairy umbrellas or drink umbrellas. What ever you prefer.

Supplies
scrapbook paper
strong glue
punch (circle or scallop)
bamboo skewers

1. Gather your supplies. The size of the punch is going to determine the size of the umbrella. I used a 3 inch scallop punch.


2. Punch circles or scalloped circles with your punch.


3. Cut a pie shape about 1 inch wide to the middle of the circle.


4. Join circle together and glue.


5. Glue your skewer to the inside with a very Strong glue or glue dot.


These would be adorable in a little fairy garden or hanging out in a nice cool glass of lemonade! Enjoy!