Package Pretty with AMM Goodies

I have been seeing so many amazing packaging ideas lately and thought I'd share a simple one that I used recently.

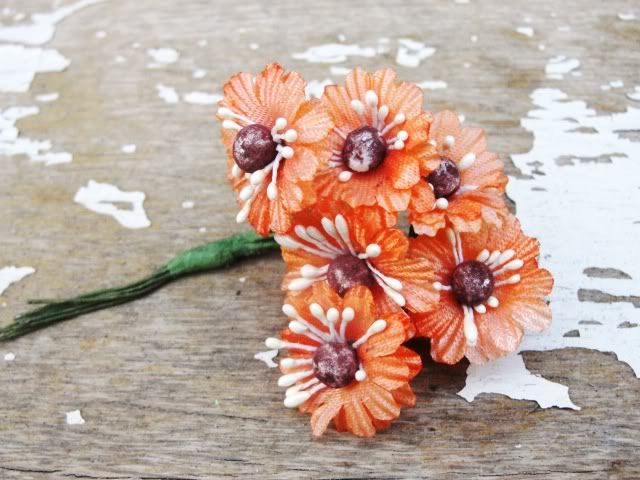
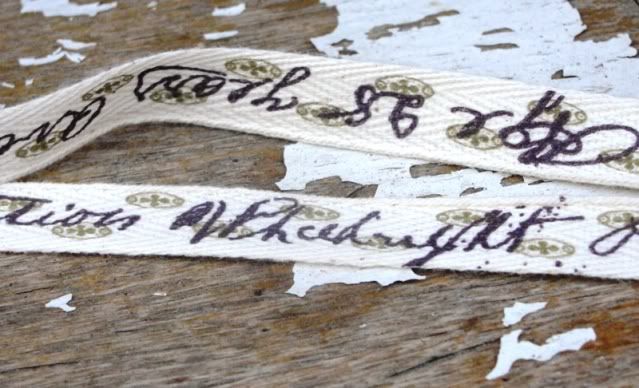
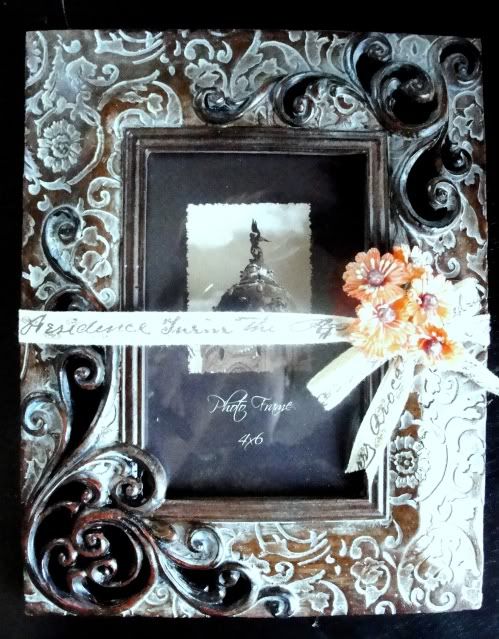
I'm not usually a fan of wrapping gifts unless it is Christmas, for some reason. I usually just go with a gift bag. Well, I had to get a gift the other day for someone that I work with (my boss) and I found this really pretty frame. I didn't feel like just putting it in a gift bag, so I went through some of the things we have in the A Million Memories store and found this really pretty french written twill trim and these little orange bouquet of flowers. Together, next to the wood on the frame, I thought made a perfect little seasonal gift.


I've found few fun ideas for packaging in Pinterest. Check it out for yourself and feel free to share any ideas or inspiration that you've found with us on the A Million Memories message boards and gallery.
Follow Me on Pinterest

Some Cards from Michelle Philippi Using Crate Paper & AMM Goodies

I’m so excited to be here today for the first time sharing some cards with you. I’m showcasing the Random collection by Crate Paper today in a couple different ways. So let’s get to it.


First up are a couple fairly quick and easy cards. As a working mom I don’t always have a ton of time to spend on each project, so I rely heavily on patterned paper and diecuts and chipboard to do a lot of the busywork for me. A couple of cuts of some patterned paper, lots of chipboard and a few easy embellies like buttons and pearls and we’re done. The Random chipboard stickers and cardstock stickers did everything here, I pretty much kicked back on these ones.


Those cards are sort of fallish too, I might add. I love that this particular collection allows you to create for several seasons as you can see with these next couple of very springy cards. Again I’ve got the Random paper, chipboard and stickers, but then I prettied up even more with some great vintage bits from AMM. Among these special pieces are this layered dainty flower that I topped my chipboard rose with, and some beautiful silver embellishments from AMM’s white/silver mix button tag that I used here and there as well.


:REMOVED FOR PUBLICATION:


I’ll see you right back here real soon with some more cards loaded with pretty goodness from the shoppe!

Halloween Countdown Tutorial by Marie Ramirez

Halloween is approaching quickly and if you have kids, I'm sure they are excited. I made this Halloween countdown so I didn't have to answer that question 5 times a day until Halloween. Here we go.

Supplies:
Heavy duty glue (I used beacon 3 in 1)

Scissors
Tweezers
Black hat pins
Clear gems
Black Tulle

1. Start out by cutting circles. I used 1 inch - 3 inch circles. You will need at least 25 circles and if you have a circle punch - even better! I cut mine out by hand because they don't need to be perfect. Remember here that we want to have varied sizes.

2. Cut your circles into spirals.

3. Grasp the beginning of the spiral with your tweezers and begin to twirl. Remember that the inside of the circle is what is going to give your flower the color. The outside does not matter.


5. As you get to the end you should have a small circle at the end to glue your flower to. Place a glue dot or a strong dot of glue and push down.
Look at that! Your rose is done!

7. Now you'll need to paint your chalkboard frame black. Once dry, go ahead and glue down your roses. I ended up putting the larger ones in the corners and varied my sizes throughout. Stagger them and glue 'em down.

8. Fill in any bare spots with your tulle. Glue and pinch.

9. To finish it off, I added bling to some of the roses. I didn't want them all to have it just some to give it that little flash.


Now, just cut out a bat attach your hat pins. Viola! Halloween countdown complete!

We hope that you've enjoyed Marie's idea! Be sure and let us know what you think.